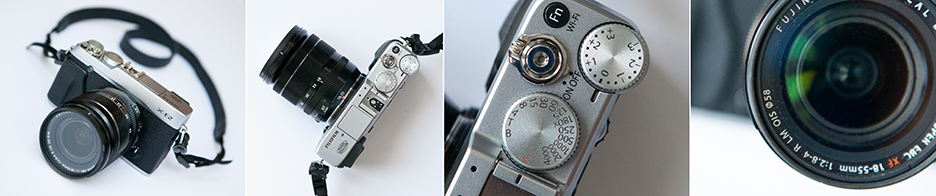
 So, hands up, who got a shiny new camera for Christmas? Or perhaps a fancy new smart phone with an awesome camera attached?
You ripped open the wrapping paper, charged the battery and immediately started snapping… But hang on a minute, how do you actually get good photos from this thing?
“Photography is not about camera’s gadget and gismos. Photography is about photographers. A camera didn’t take a great picture anymore than a typewriter wrote a great novel”. Peter Adams
A great camera doesn’t necessarily mean you’re instantly going to start taking great photos. So, in the spirit of Christmas giving, here is our gift to you; five simple tips to help you make the most of your new camera… (or smartphone!)
1. Before you start… Even if you don’t make it to the end, read this one tip!
Check your camera settings!
Always, always, always set your camera to take the largest size photo possible. You can make big photos smaller, you can’t make small photos bigger. How super annoyed would you be to take the perfect killer shot that would look amazing on your living room wall only to discover you had your camera set on ‘web-size’ and, whilst the photo looks great on your laptop screen, it is too small to print…
A bonus tip! Want to print a photo from your brand new iPhone? Select actual size from the menu to get the highest quality print!
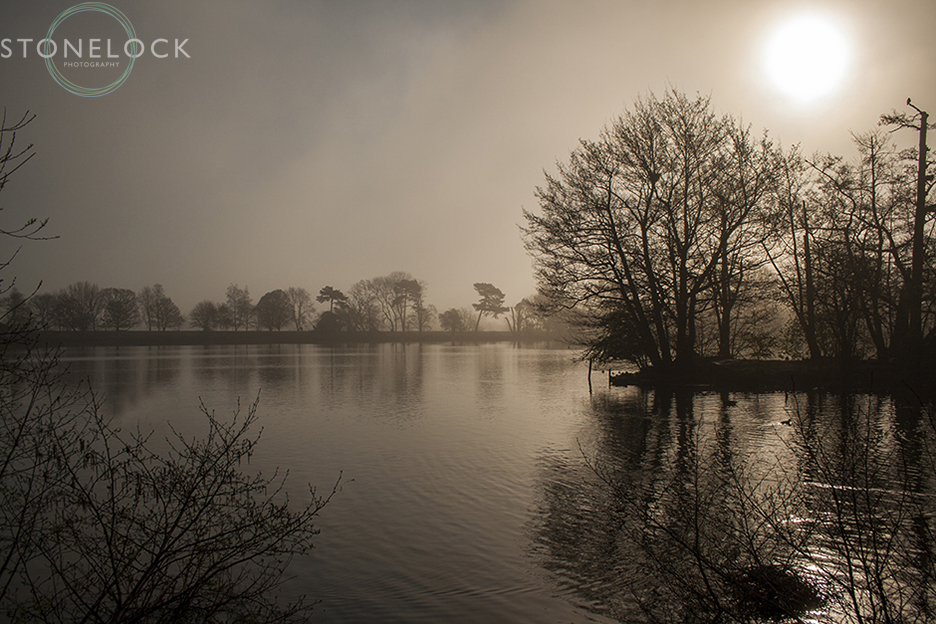
2. Think about the light!
Photography is all about light. The word it’s self means writing (graph) with light (photo). If you don’t have decent light, you don’t have a decent photo.
Flash is not always the answer as it is a harsh light that has a tendency to flatten your subjects and create a photo with an overly bright foreground and dark background. People are also more prone to red-eye when the flash is used.

Instead, think about where you position your subject. If you move them towards a softer light source, for example a window, it will give a much softer and more flattering light. If there is too much shadow on their face turn them further towards the window or use a piece of white card to bounce the natural light back onto them.
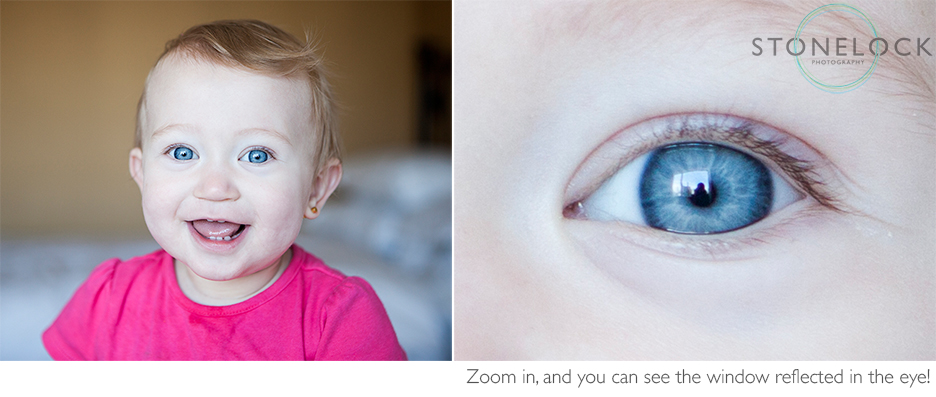

If you’re out and about enjoying one of these cold but sunny winter days try to avoid photographing people with the sun in their eyes as they will end up with an unsightly squint. This is not a good look! Moving a few steps to the left or right can usually rectify this, or if it is really bright hunt out some shade!
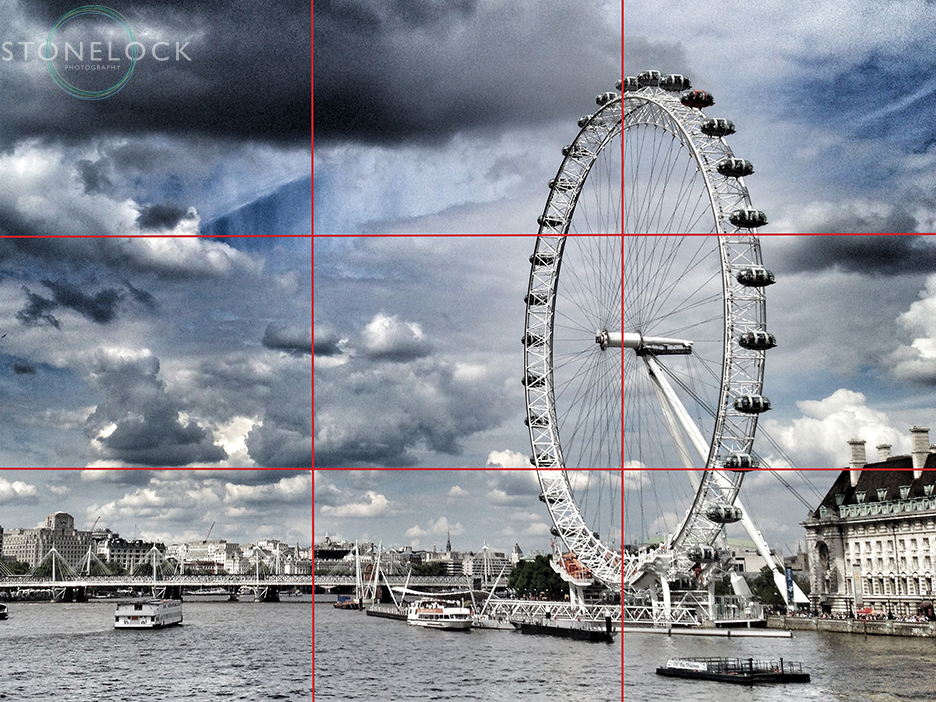
3. Composition AKA making your photos visually interesting!
It is generally a good idea to avoid placing your subject in the middle of the photo.
Try dividing your image into thirds, both horizontally and vertically and position your subject in one third of the frame. Have you ever wondered why the camera screen on your iPhone has a grid on it splitting it into thirds…? Welcome to the Rule of Thirds!
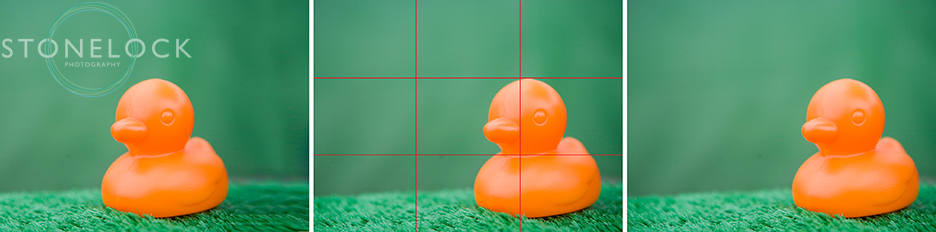
Positioning your subject in one third of the frame will add balance and interest to your photo.
4. Use the Presets
Whilst most Pro’s will call presets cheating they are there to help you! By selecting the relevant preset you are telling the camera what ‘kind’ of photo you are taking and it will make adjustments accordingly. Most compact/point-and-shoot camera and entry level D-SLRs will have some or all of these presets.
![]() Mountains – select if photographing a landscape and the camera will make sure even the furthest point is in focus.
Mountains – select if photographing a landscape and the camera will make sure even the furthest point is in focus.
![]() Head or face – select when shooting a portrait to blur the background ensuring your subject stands out and is the main focus of the image
Head or face – select when shooting a portrait to blur the background ensuring your subject stands out and is the main focus of the image

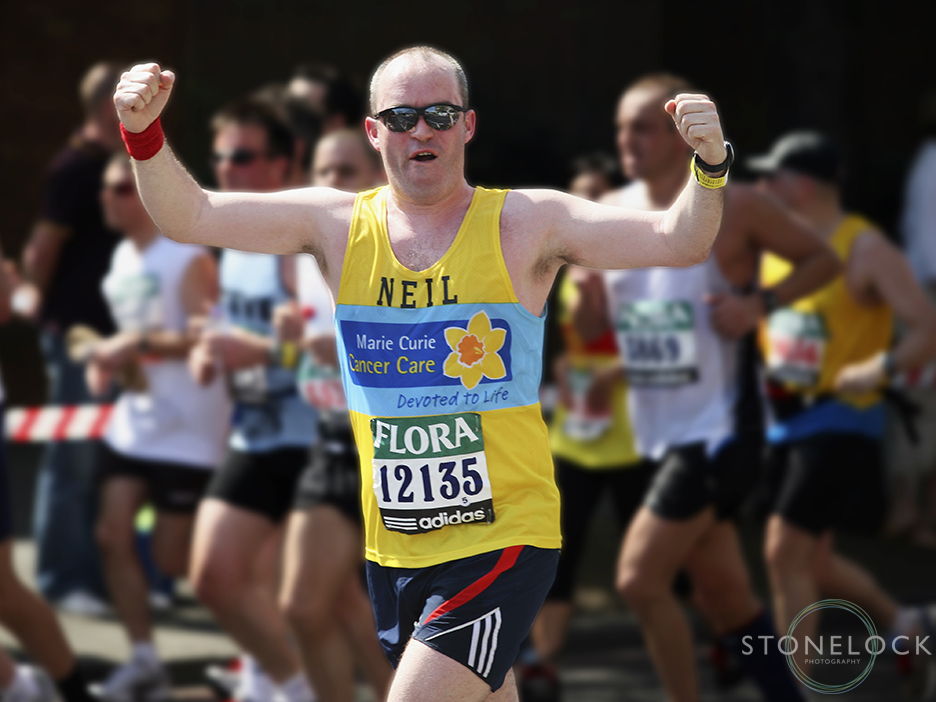
![]() Running Man – select if photographing a moving subject, for example a car, to reduce the amount of motion blur.
Running Man – select if photographing a moving subject, for example a car, to reduce the amount of motion blur.
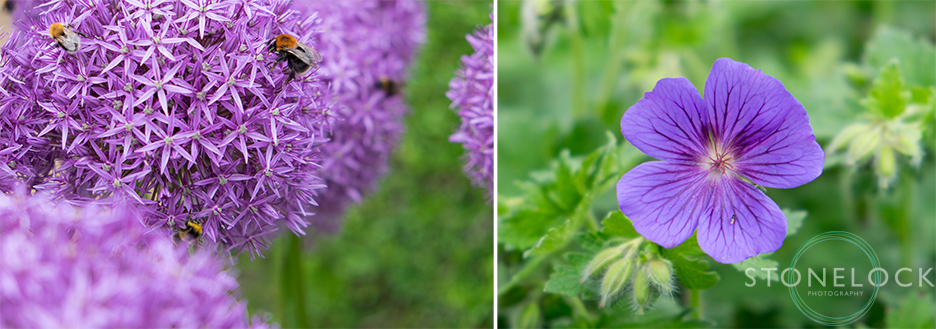
![]() Flower – select for macro or close up photography and the camera will make sure your subject is in focus but your background is nice and blurry.
Flower – select for macro or close up photography and the camera will make sure your subject is in focus but your background is nice and blurry.
Of course you don’t have to use the mountain setting just for landscapes, what happens when you use it to shoot something close up? Rules were made to be broken, right? So try out the different settings and see how they affect the photo.
5. Read the Manual…
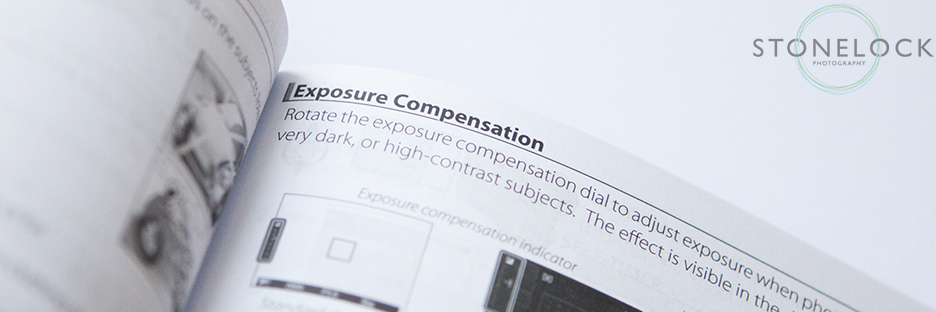
Not the most exciting of Christmas reading but if you want to get the best out of your new camera you really should read the manual!
Put simply, cameras don’t know how you want the photo to look, or even what you are taking a photo of! They make guesses based on the information they have available and then make a final decision as to exposure and white balance.
Reading the manual may help you understand how the camera gets to it’s end result and what you need to do differently to get a different result.
Not a fan of reading? There are some great YouTube tutorials for almost every make of camera, just Google ‘how to… and your camera make and model’
Try it out!
One of the best ways to learn is practice! Pick up your camera, go shoot some photos, try turning your flash off, changing your viewpoint and playing with the rule of thirds. We’d love to see what you shoot, drop us an email with your images to info@stonelockphotography.co.uk
Later in the year we’re going to publish a more in-depth series of blog posts that explain more about the technicalities of taking a good photo and understanding how to control the camera. Like us on Facebook to find out when they’re published.
We also offer a series if bespoke 1-2-1 photography workshops. Please contact us if you are interested.