Do you ever wish you were a better photographer or wonder what you could do to give your photos that wow factor?
Sometimes a few simple tweaks can make a huge difference to the success of your images. So here are some of our top tips to taking better photos; they are not tips for pro-cameras, or even a ‘real’ camera, who actually carries a camera anymore? These are all simple tips that you can use with the camera in your pocket, your mobile phone.
So here goes…
1. See the light
The most important element of a photograph is light & therefore this is the most important tip. The word photography means ‘drawing with light’. If you don’t have light, you won’t have a photo.
Before you pick up your camera, look at where the light is coming from & use it to your advantage.
Front light is a nice, even, smooth light. When shooting portraits there are no shadows on the face.
Left an example of side light, right an example of front light.
How would you apply this in real life? Stand your subject facing the light, this could be the sun or it could be a window.
Have you ever wondered why when you take a photo of someone with a window behind them it doesn’t come out very well?
Back light your subject will be in shadow, you won’t be able to see their features, but you can sometimes get some nice effects.
Two different effects using back light.
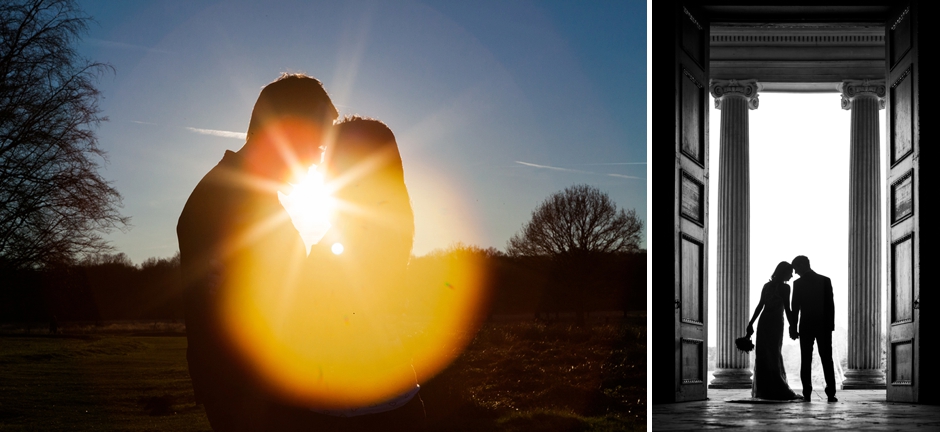
How would you apply this in real life? Stand your subject with the sun or a window behind them.
Side light can be a dramatic & artistic light. Used on men it can give a mean & moody effect!

How would you apply this in real life? Stand your subject beside a window.
Top light, imagine the sun, high in the sky on a hot summer’s day… Notice the harsh shadows under the eyes, it’s not very flattering & one off the reasons many photographers avoid taking portraits in the midday sun. So much so that I can’t find any examples in my portfolio of top light!
How can you counter balance your light source & work with what you’ve got?
Simply take a large piece of white card, if your light source is to the side of your subject, place the white card on the opposite side so that the light bounces off of it & fills in the shadows. Likewise, if you can’t avoid shooting in the midday sun, place the white card underneath your subject so that the light bounces down & fills in those under eye shadows. It can sometimes take a little practice to get the reflector positioned correctly.
You can also apply the same front, back & side light principles to photographing objects & views. The same row of tree, photographed within a couple of minutes of each other. Can you tell which image is which light source?
2. Compose
“Good photos show things to the viewer in a different way.”

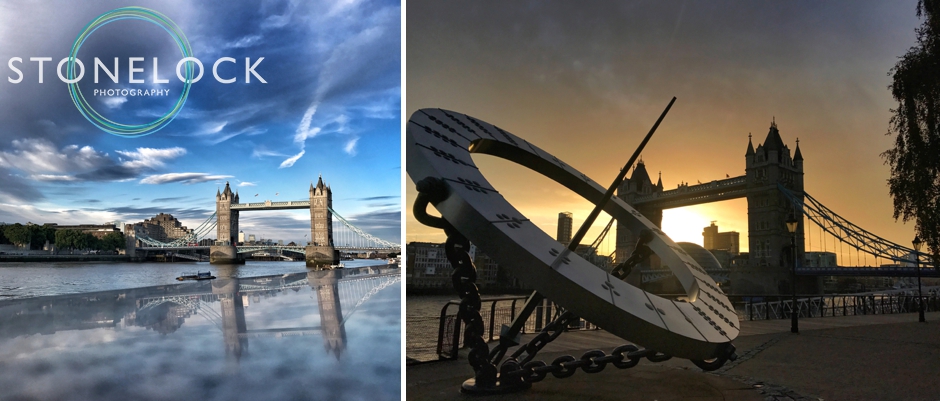
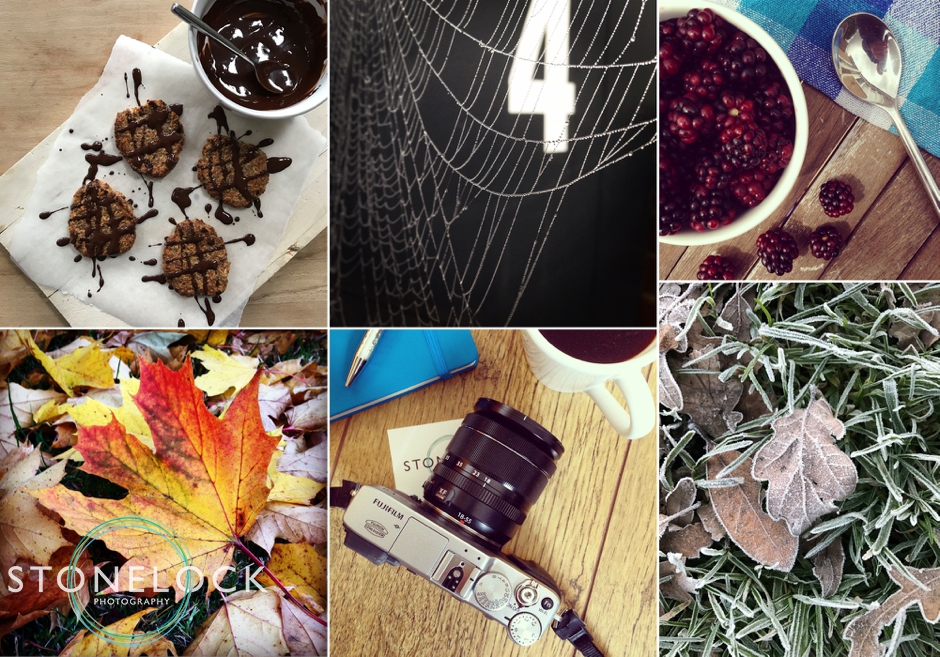
Everyone shoots the famous landmark from eye level, what happens if you change the height or angle of your view or shoot from the side? Shoot the scene from above or lay on the ground and shoot from below. Changing your viewpoint will result in a photo with much greater visual impact.
Sometimes we focus too much on the obvious shot that we miss something special. Look straight up, look straight down & examine everything in-between. There are great shots from every vantage point.
Show things to the viewer in a different way.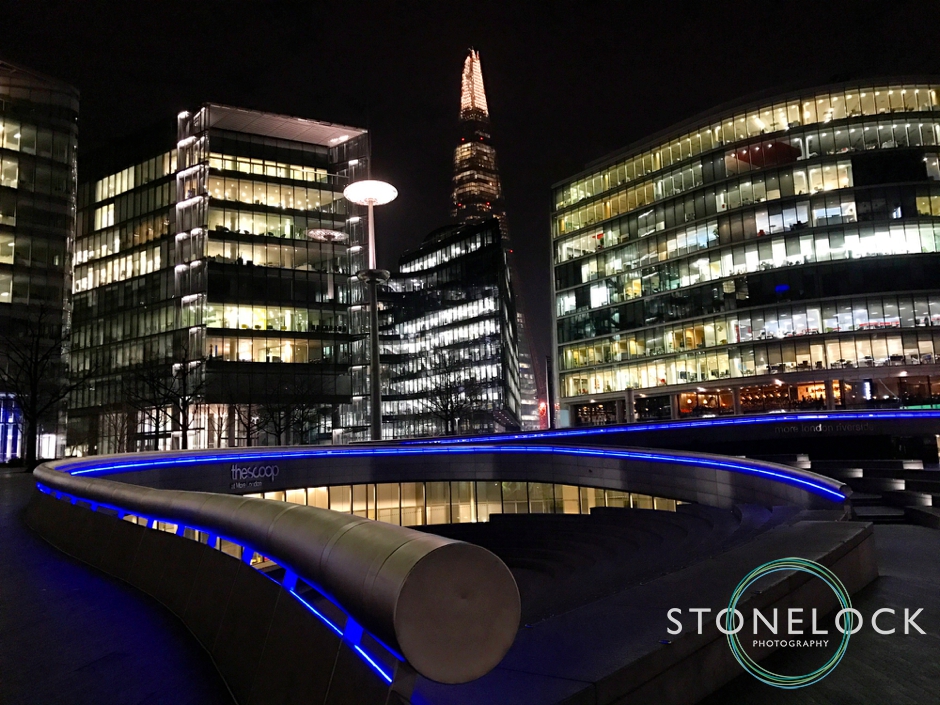

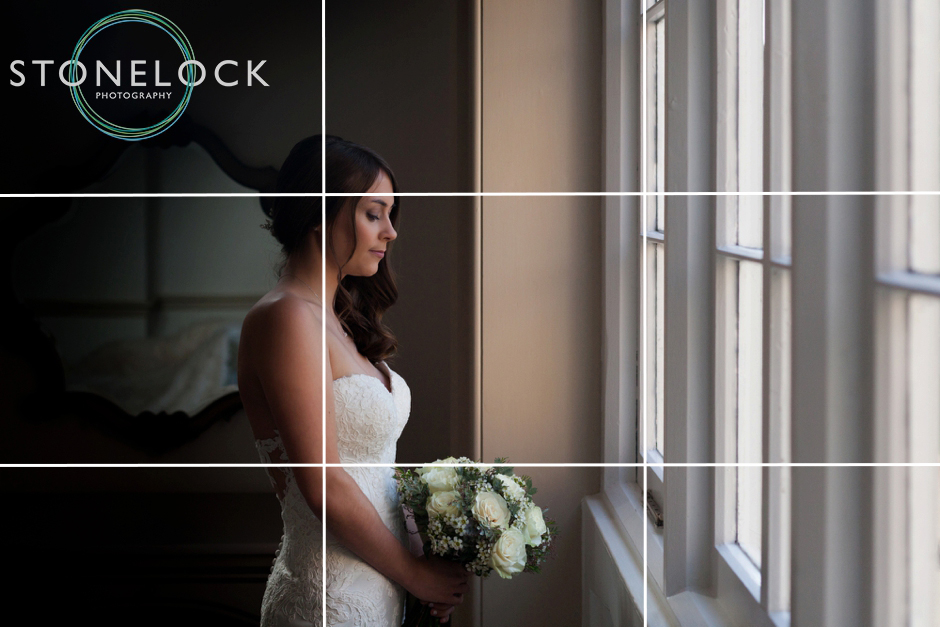
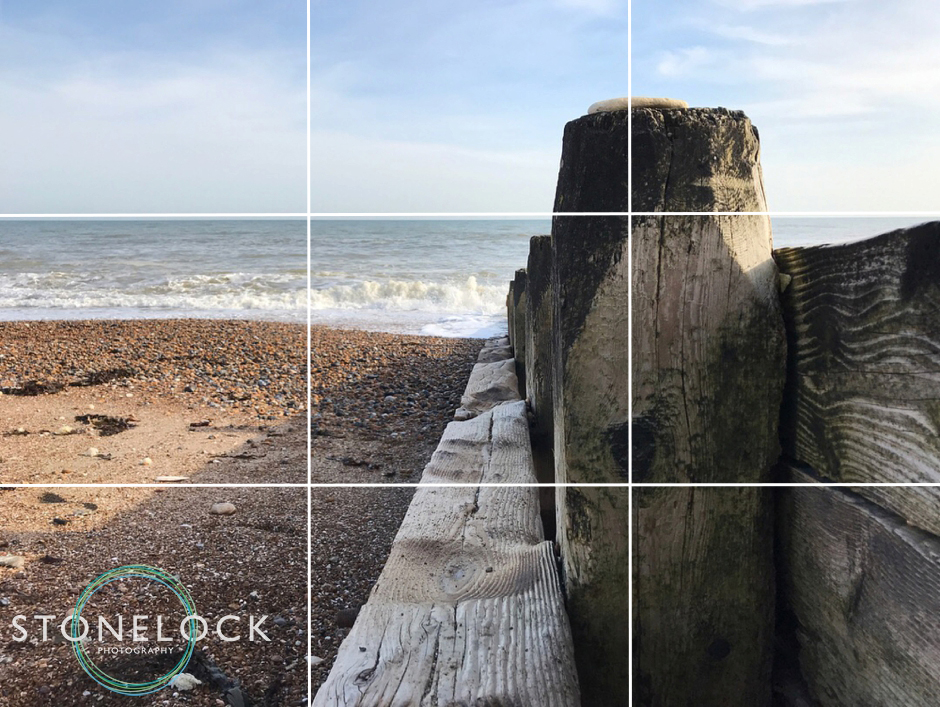
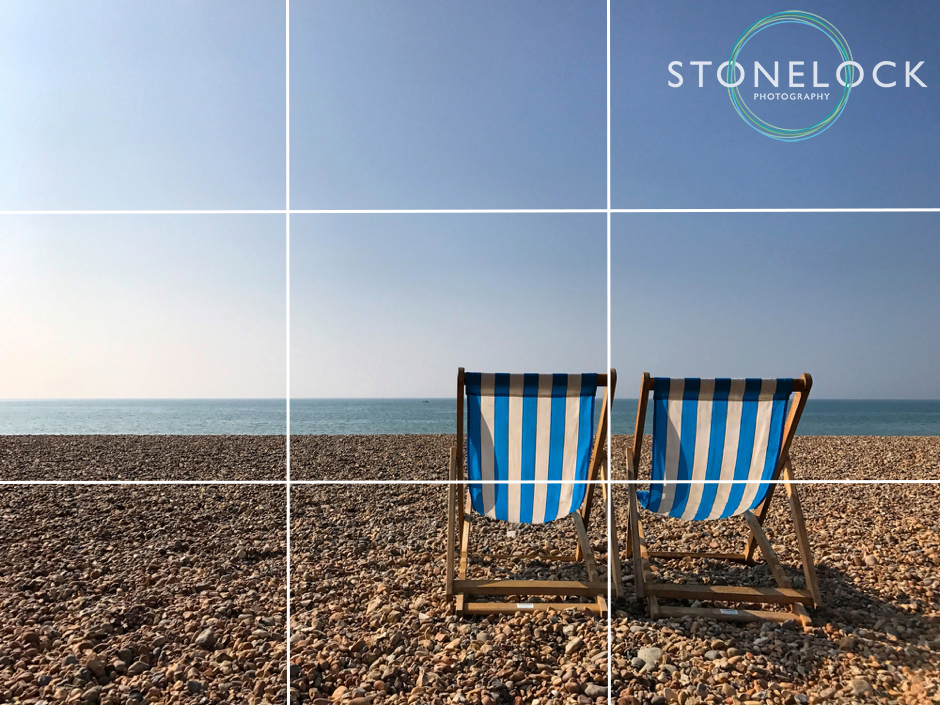
3. Rule of Thirds – Move it from the middle
Still on the theme of composition…
The middle of the photo is not always the best place for your subject. Bring your photo to life & make it more visually interesting simply by moving your subject away from the centre of the picture. Try dividing your image into thirds, both horizontally and vertically and position your subject in one third of the frame. Doing so will add balance and interest.


4. Get in close
As the great Robbert Capa once said, “If your pictures aren’t good enough, you’re not close enough.” 
Don’t be afraid of getting up close to your subject, take a step or two closer & get in amongst the action! Your goal is to fill the picture area with the subject you are photographing.
Although don’t get too close or your pictures will be blurry. A general guide is three foot or one step away from your subject, any closer & your camera will struggle to focus.


Getting in close links nicely to tip six…
5. Think about your background…
A bad background can ruin a great photo!
Like with top light, I can’t find any examples of photos I’ve shot where the background spoils the image, it is something I think about constantly, even when snapping on my phone!
Sometimes the background is distracting, it might be busy, messy or cluttered. Move the distraction, move your subject or change your view point to hide the distraction.
Sometimes you can also make a bad background into a striking image. You’d never guess that in this photo the groom is sat in front of a big purple bin!

6. Connect with your subject
Make eye contact, engage & listen to the person you’re photographing, chat to them & build a rapport, you’ll get much more natural & relaxed photos.
If you are photographing children, move down to their level, sit or lie on the floor so that you can make eye contact with them.
 When photographing children, move down to their level to engage & connect with them.


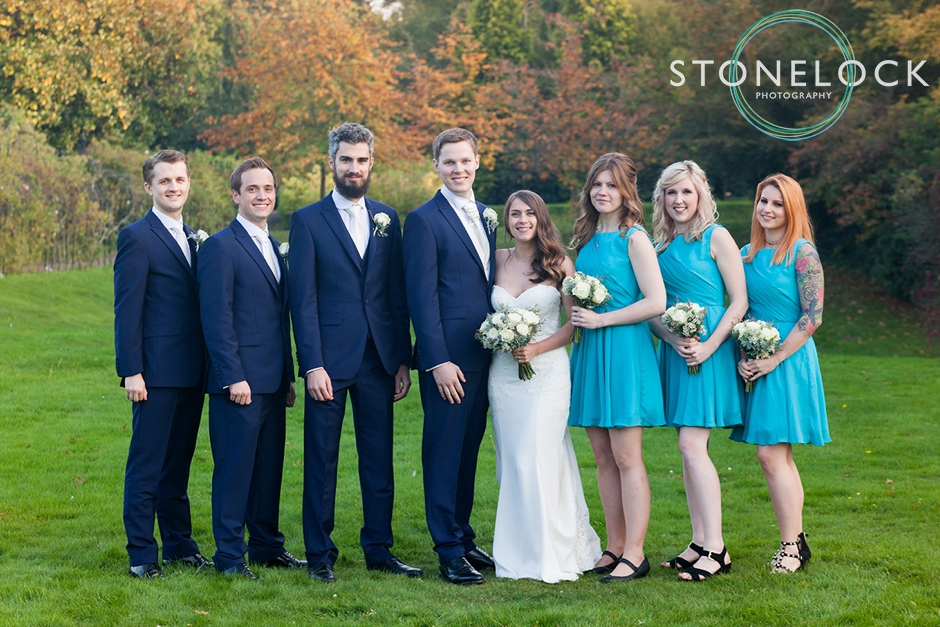
7. Take control
Photographing a group, your family, the kids, some friends? Or even just one person. Take control & become a director, not just a taker. A director takes charge of creating the photo.
I often use the phrase, “don’t take a photo, make a photo”
Think about tips one & two, choose the location for the light & the background, not just because that’s where your subject is sitting. If the light is bad, move your subject/s to good light. If they are in front of a window with light behind them, ask them to turn & face the window.
Is the background behind your subject distracting? Move the distraction, move your subject or change your view point to hide the distraction.
Take control of your picture taking & watch the improvements.
8. Patience
Good things come to those who wait!
Waiting for the sun to be in exactly the right position!
Wait for the perfect light.
Wait for your subject to move slightly.
Wait for a bird to fly away (or into shot).
Wait for the pinnacle moment.
Patience is paramount to getting the best shot & it’s always worth it!


9. Rules (or tips) are there to be broken
No words of explanation needed!
Sometimes we break the rule of thirds!

10. Back-up & print!
My final tip isn’t about taking a photo but what you do after you’ve taken them.
Where do you store your photos?
What happens to your photos if you loose your phone or your laptop dies? Do you have them saved elsewhere? Your kid’s first birthday, your wedding, honeymoon, family members who are sadly no longer with you. How valuable are these photos to you? What would happen if you were to loose them?
Back them up. To a hard drive, to the Cloud, to a USB drive, to a DVD, just make sure they are backed up somewhere & not just kept on your phone.
You may also want to think about printing your favourite images. We are currently living in the most photographed generation, but it has been estimated that with the speed that technology is developing & without taking action, today’s digital photos won’t be viewable in 10 years time.
I got married nine years ago. My photos were given to me on a DVD. Neither of my computers now have DVD drives. Many people in the photography industry are saying that the safest way to ensure that you can still look at your most precious photos in years to come is to print them. Prints can last 100’s of years. Most families have a box or album of photos of previous generations. Imagine if your great, great-grandkids had no way of looking at photos of you.

And there we are, some simple tips to help you to take better photos. Put these tips into action & let us know how you get on!